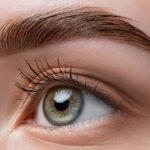
Eyebrows are one of the most defining features of the face. Well-shaped brows can instantly lift your look, while the right dye can enhance their depth and dimension. The good news? You don’t need to be a professional makeup artist to achieve salon-quality brows at home. In this guide, we’ll cover everything you need to know about shaping and dyeing your eyebrows like a pro — safely, affordably, and with long-lasting results.
Step 1: Prepare Your Brows
Before you start shaping or dyeing, prep is crucial.
- Cleanse your face and brows to remove oil and makeup.
- Brush upwards using a spoolie to reveal your natural shape.
- Trim any long strands that extend beyond your natural arch.
Step 2: Choose the Right Brow Shape
The right shape depends on your face structure:
- Round face → Soft, angled arch for balance.
- Oval face → Natural, slightly arched brows.
- Square face → Strong, defined arch.
- Heart-shaped face → Rounded brows to soften sharp features.
👉 Tip: Use a brow pencil to map out where your brows should start (align with the inner corner of the eye), arch (line up with the pupil), and end (line up with the outer corner).
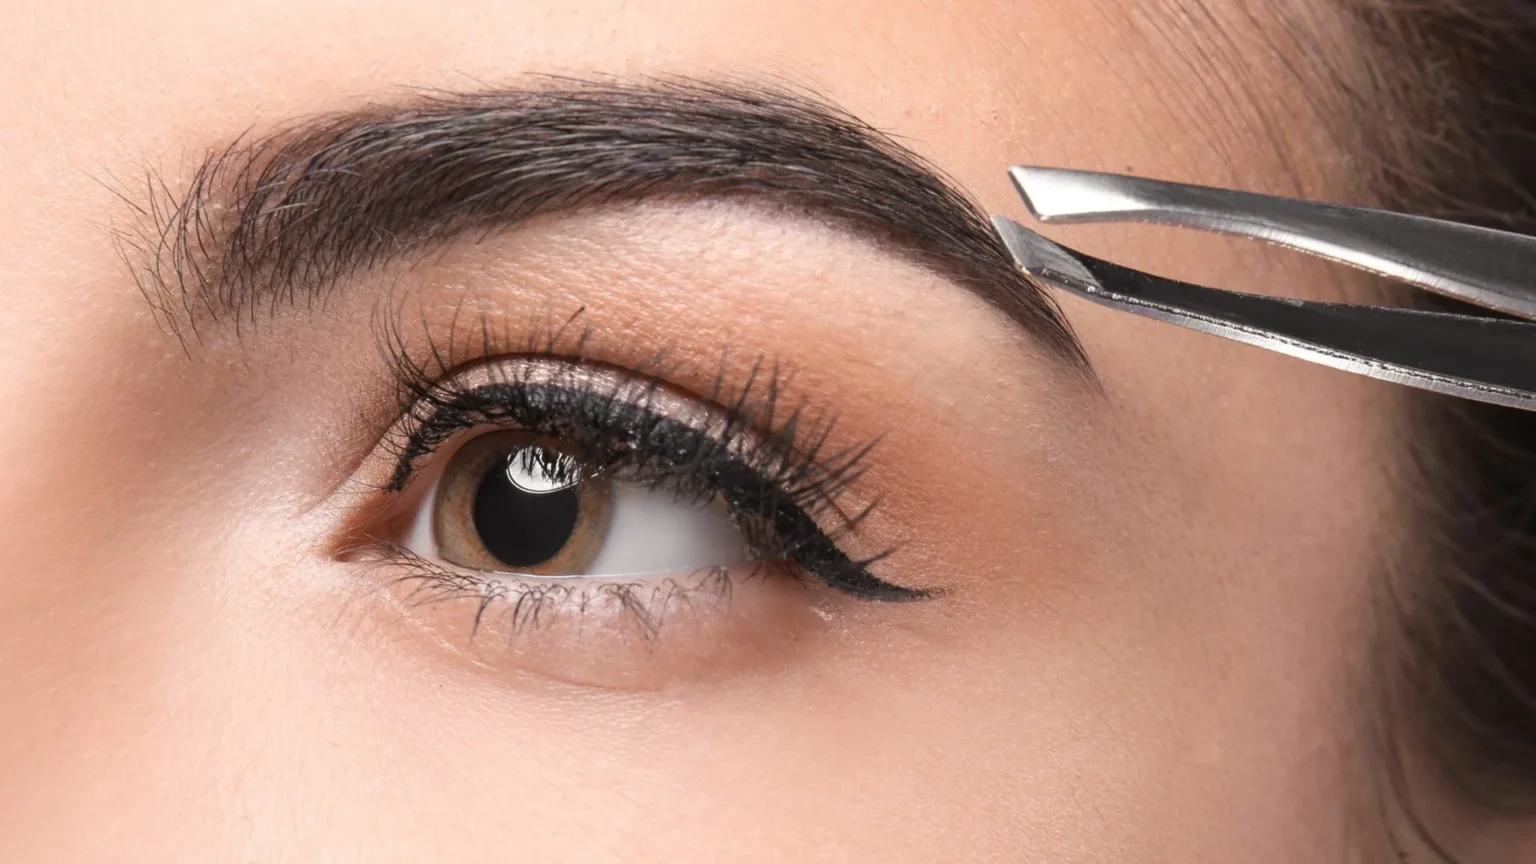
Step 3: Shape Your Brows
There are several methods:
- Tweezing → Great for precision, but avoid over-plucking.
- Waxing/Threading → Removes multiple hairs at once, best for defined shapes.
- Trimming → Quick maintenance without removing volume.
⚠️ Pro Tip: Always shape under good lighting and in small steps to avoid thinning your brows too much.
Step 4: Pick the Right Dye
Brow dye is different from hair dye — it’s gentler and designed for facial use.
- Tinting kits (available in gel, cream, or capsule form) are the easiest option.
- Choose a shade one or two tones lighter than your hair if you’re dark-haired, or slightly darker if you’re blonde.
- Popular shades: Light brown, medium brown, dark brown, and black.
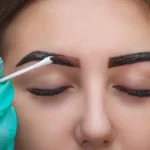
Step 5: Dye Application
- Patch test first to avoid allergic reactions.
- Apply Vaseline or petroleum jelly around the brows to prevent staining skin.
- Mix and apply dye using the applicator brush.
- Leave for 5–10 minutes (check the instructions — timing matters).
- Wipe clean with a damp cotton pad.
Step 6: Aftercare for Long-Lasting Brows
- Avoid washing your brows with hot water for 24 hours.
- Use a gentle cleanser to maintain dye longevity.
- Apply a nourishing brow oil or serum to keep hairs healthy.
- Touch-ups are usually needed every 4–6 weeks.
Common Mistakes to Avoid
- Choosing a colour too dark (can look harsh).
- Over-plucking, which makes brows look thin and uneven.
- Leaving dye on for too long (can stain skin or darken excessively).
- Skipping the patch test (risk of irritation).
Final Thoughts
Shaping and dyeing your eyebrows at home is easier than you think. With the right tools, a little patience, and proper aftercare, you can achieve natural-looking, salon-quality results without breaking the bank. Perfect brows not only frame your eyes but also boost your overall confidence.